
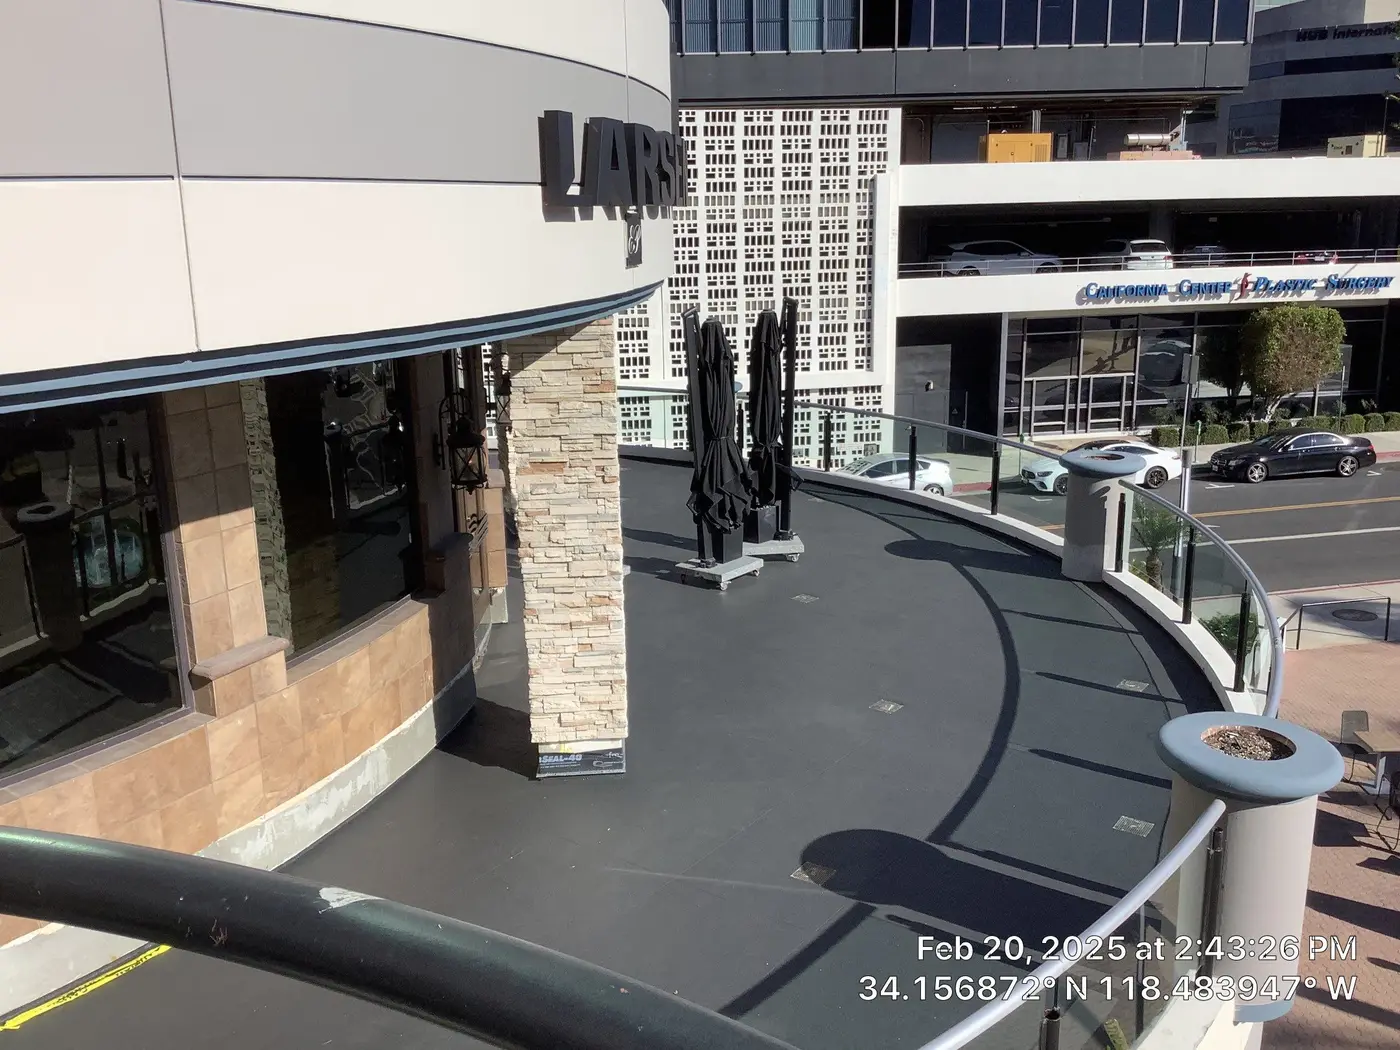
A look inside our approximately 18,000-square-foot Encino Place project: tile removal, deck-to-wall flashing, concrete preparation, slope correction and the complete Life Specialty Coatings MC System with a custom patterned finish.
At Encino Place, 16101 Ventura Boulevard, the existing pedestrian walkways had tile installed over concrete without a proper waterproofing system. Our scope covered approximately 18,000 square feet of designated walkway areas. The work began below the decorative surface, with removal and preparation before the new system could be installed.
This photo case study follows our crew through the project. We used the complete MC System by Life Specialty Coatings, including Fiberlath with 1589 resin, and finished the walking surfaces with a custom pattern. The installation sequence below describes this project; it is not a substitute for the manufacturer’s installation specifications.
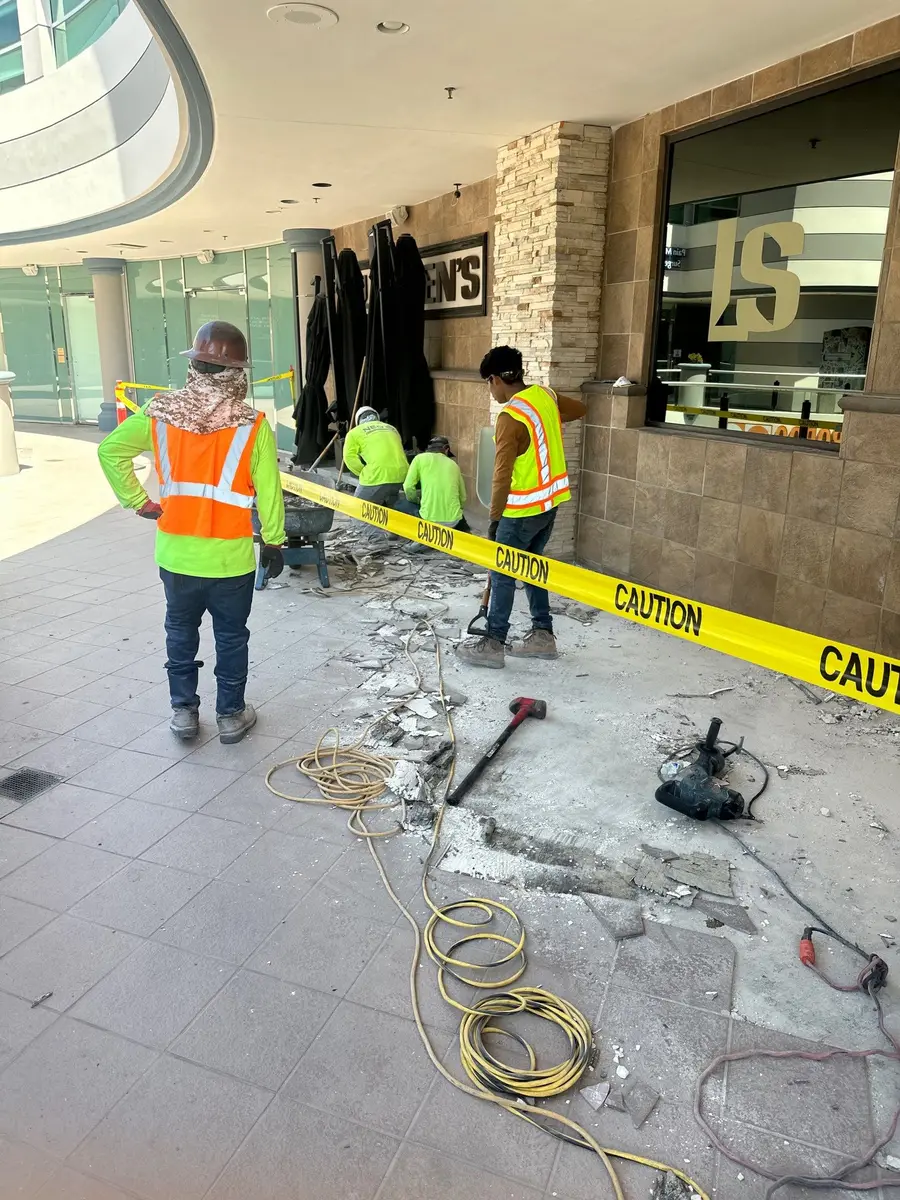
1. Remove the existing tile
We demolished the tile to expose the existing concrete. The first stage gave us access to the surface that needed preparation and to the perimeter conditions that would become part of the new waterproofing assembly.
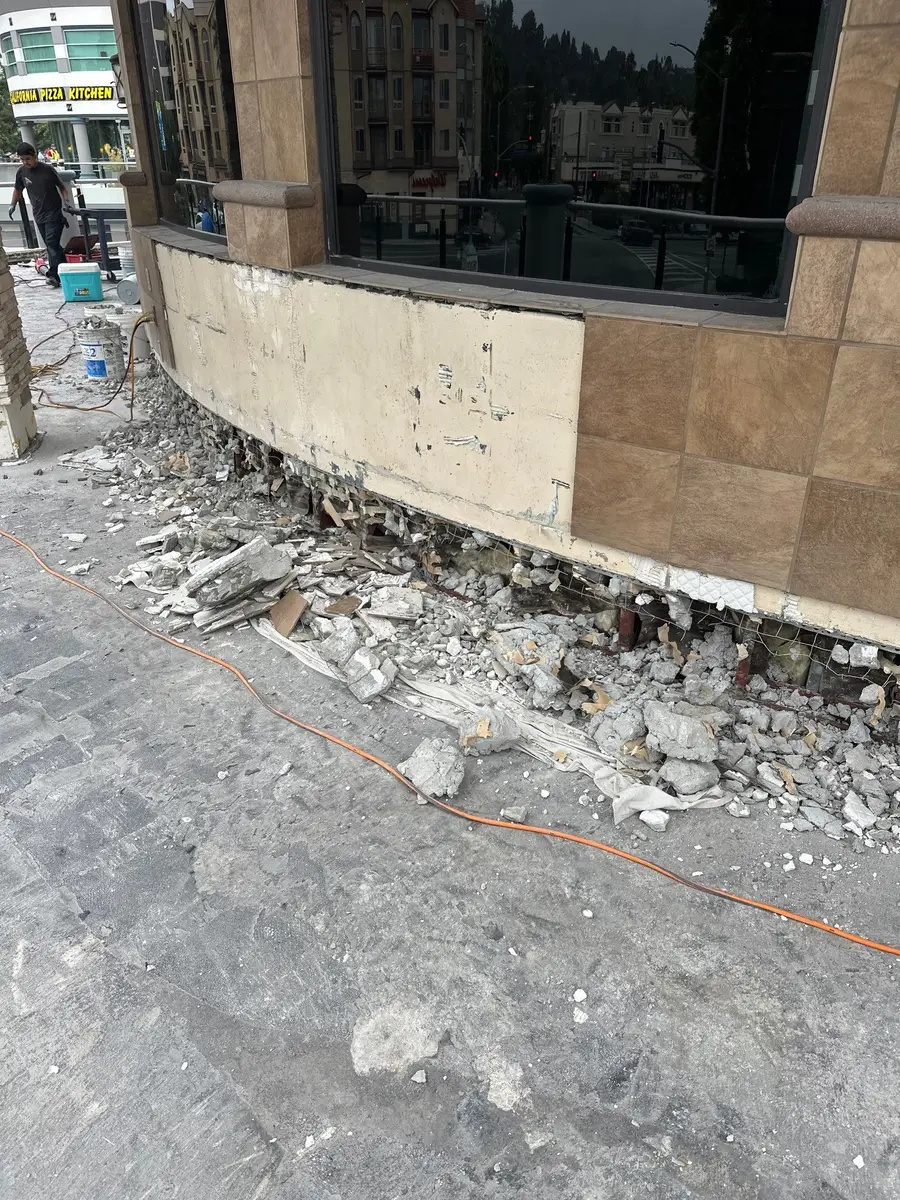
2. Open the stucco and install deck-to-wall flashing
The scope included opening the stucco at the walkway perimeter and installing new deck-to-wall flashing. This work addressed the transition between the horizontal deck and the adjoining walls before the surface layers were completed.
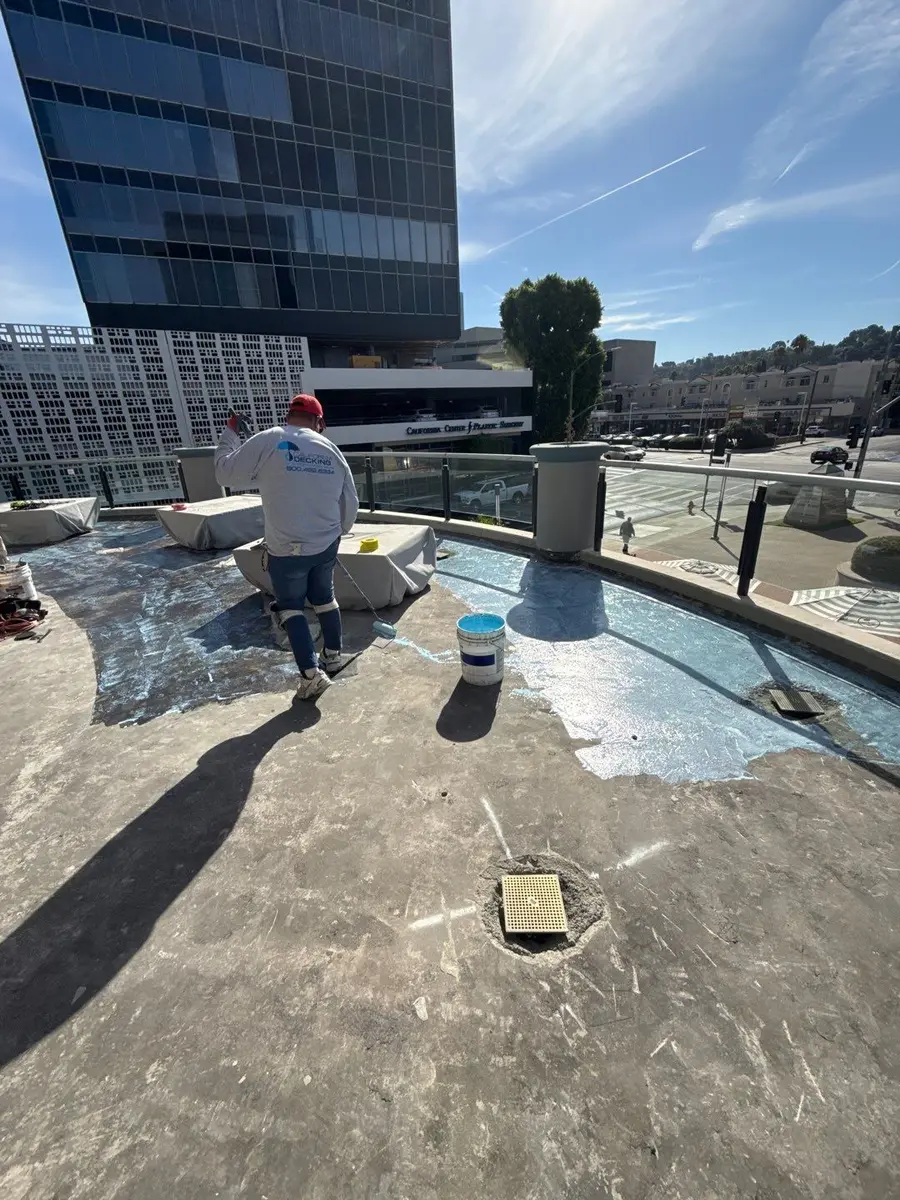
3. Prime the concrete and correct the slope
We primed the concrete, installed the base coat and corrected the slope as part of preparing the walkway for the full MC System. The crew worked around storefront thresholds, columns and existing drain locations.
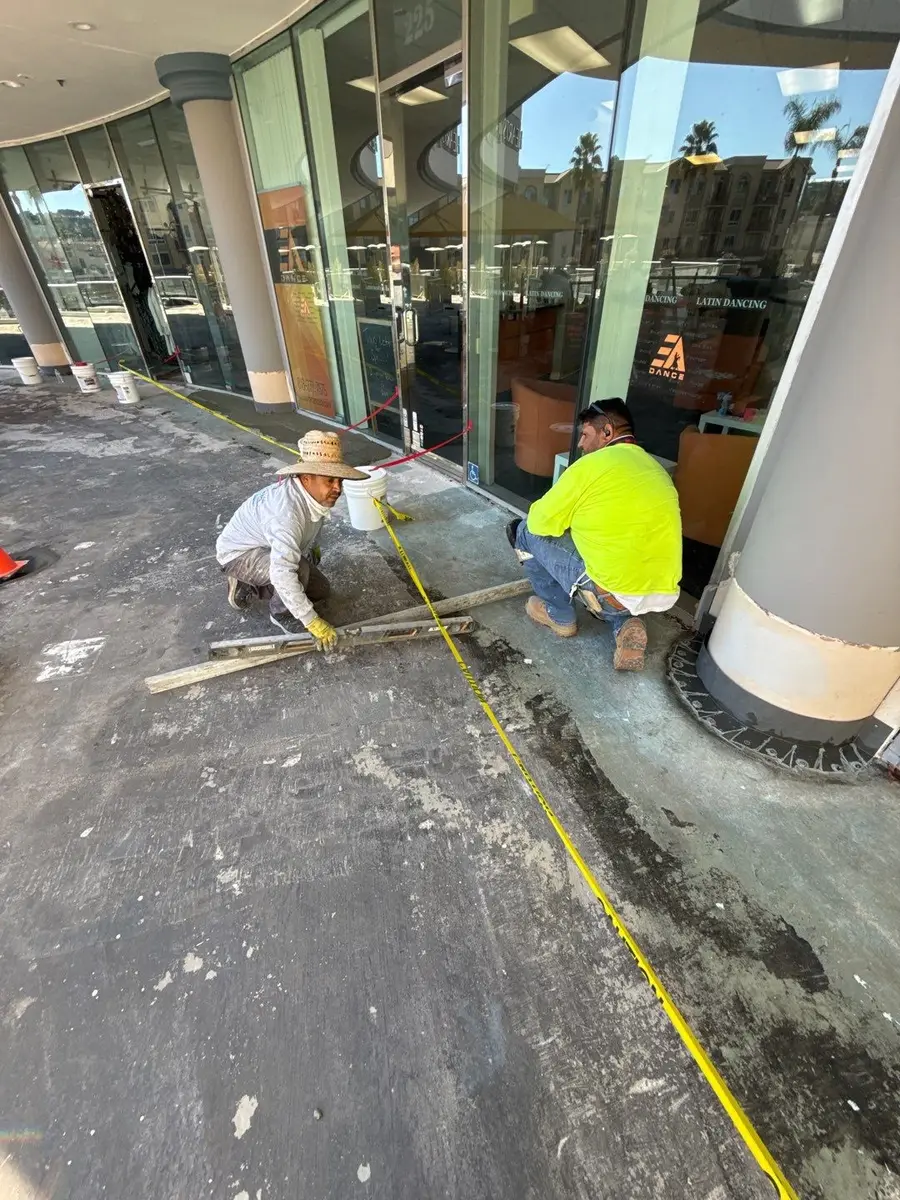
4. Install the complete MC System
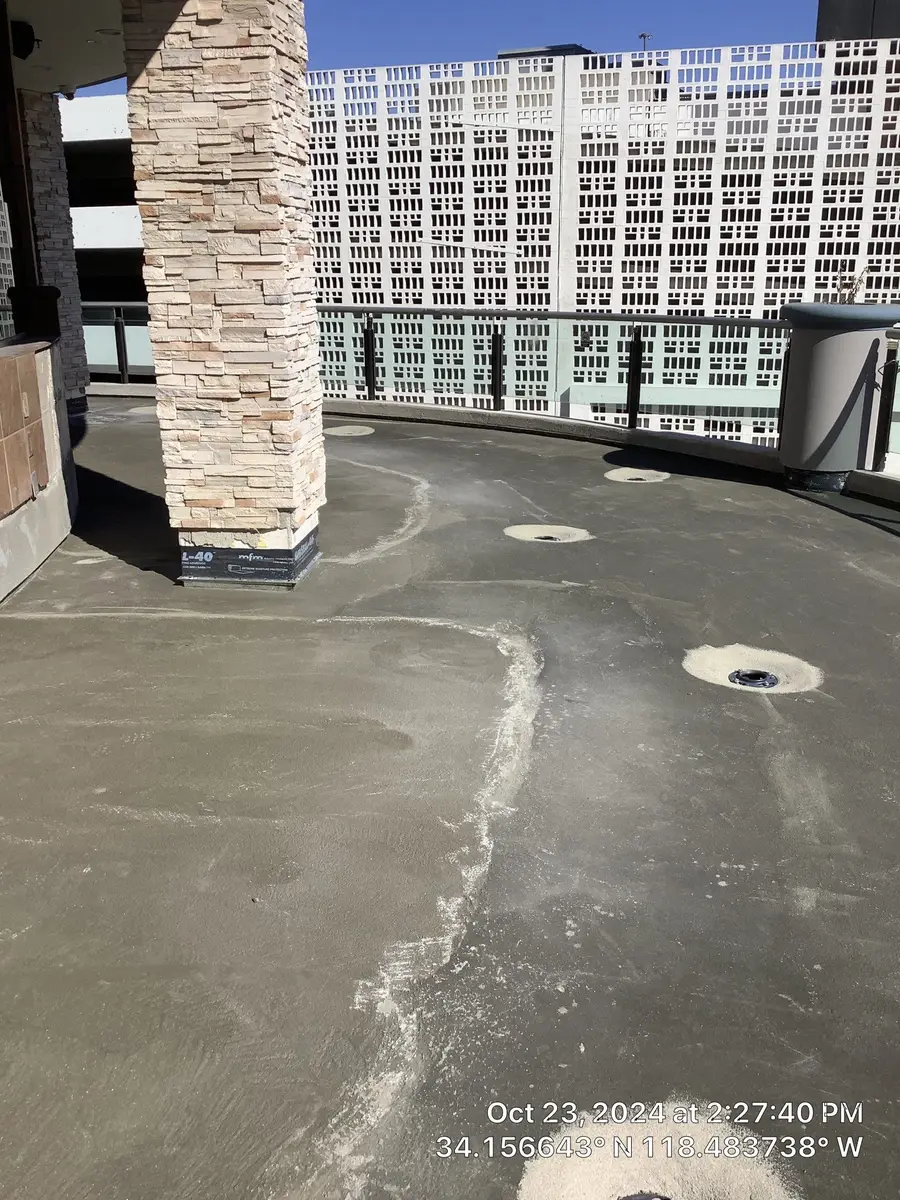
After the preparation and base work, we installed Fiberlath with 1589 resin as part of the complete Life Specialty Coatings MC System. We then covered the reinforcement and continued the system build-up before applying the decorative finish.
The progress photos show the walkway at different stages, including the areas around columns and drains. These intermediate surfaces are not the final appearance of the project.
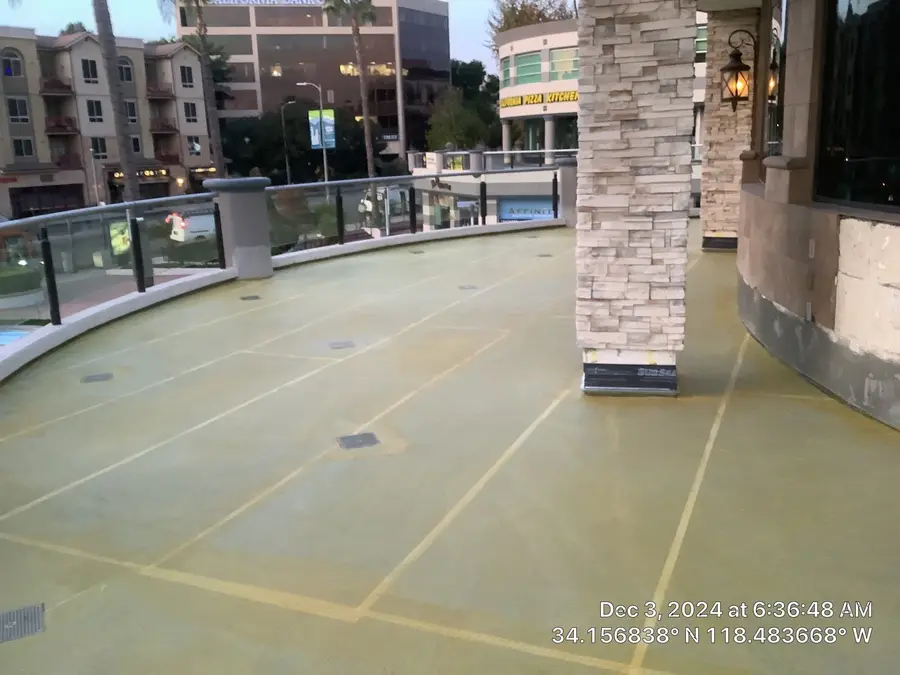
5. Create the custom patterned finish
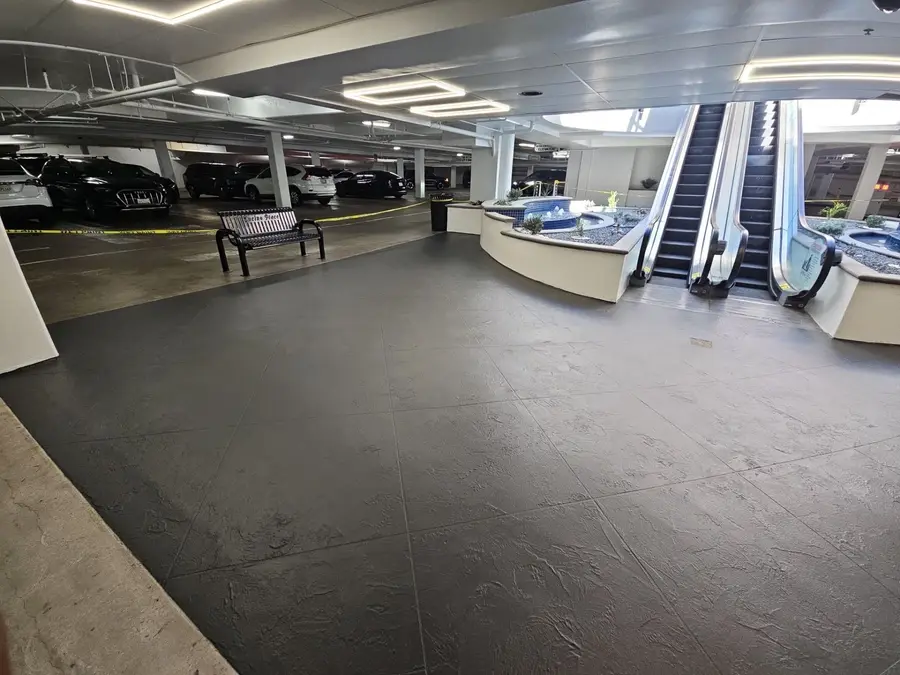
The final surface work included a custom pattern. The selected photos show the light-gray square pattern on an upper terrace and the darker textured pattern at the escalator landing. Together with the curved walkway shown at the top of this article, they document the different finished walking surfaces within the project.
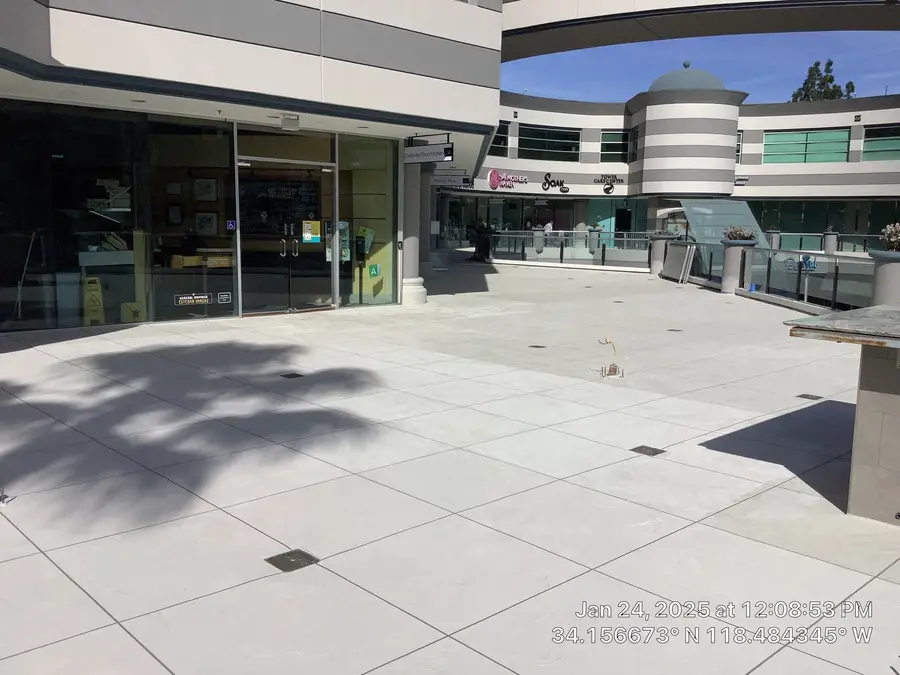
Planning a walkway project in Encino
This project involved more than changing the visible finish. Tile demolition, wall access, new flashing, concrete preparation and slope work were all part of the scope before the complete MC System and decorative surface were installed.
If you manage a commercial property with tiled walkways, share photos, the approximate area and any available plans or repair history when requesting an assessment. We can review the existing conditions and discuss a project-specific scope.
Explore our Encino waterproofing servicesApply this guidance to your property
For an assessment of your property's conditions and repair options, explore our Commercial walkway waterproofing.
We serve properties across Los Angeles and Orange County. See waterproofing services in Los Angeles or find your local service area.
See the 18,000-square-foot Encino MC System project